


Your personal details are safe with us. For more info, read our Privacy Policy
How do you mask canopies and attach them to the model?
Welcome to another Quickie FAQ with Foxx and Sprue!
Alan Black has asked us the best way to mask clear parts and canopies, and the best way to attach them to the model.
Canopies and clear parts are something that fills every modeller with stomach-churning dread and wobbles. Every single one of us has tried to hand paint canopy frames, only to make a right pig's ear of it and utterly ruin a model that we've put tons of hard work into. And then we usually invent new and exciting WORDS to express our frustration. There is no way to paint a canopy or window frame without any form of masking. Thankfully, masking is actually easier than you think!
There are quite a few ways, from using tiny bits of tape, making masks on and off the clear part, using thin metal foil, masking fluid and more! Too many to go into here in any great detail. But, let us show you two of the easiest, at least!
One tried and true tip for masking off small clear parts that it would be tricky to mask with tape - especially recessed ones such as portholes, display screens or small details such as headlights, spotlights, lenses and such - is to simply apply masking fluid over the clear part with a cocktail stick or an old brush you don't mind throwing away. This handy (and very stinky) fluid will cover the lens or fill a recessed porthole nicely and create a rubbery coating that can be pulled off once painting's finished. It's great on circular and recessed shapes as the liquid will conform to the edge of the part by surface tension, and magic.
However, a limitaton of masking fluid is that it won't give you a nice, crisp straight edge so is not really suited for things like windows with frames, or canopies which will look messy as a result.
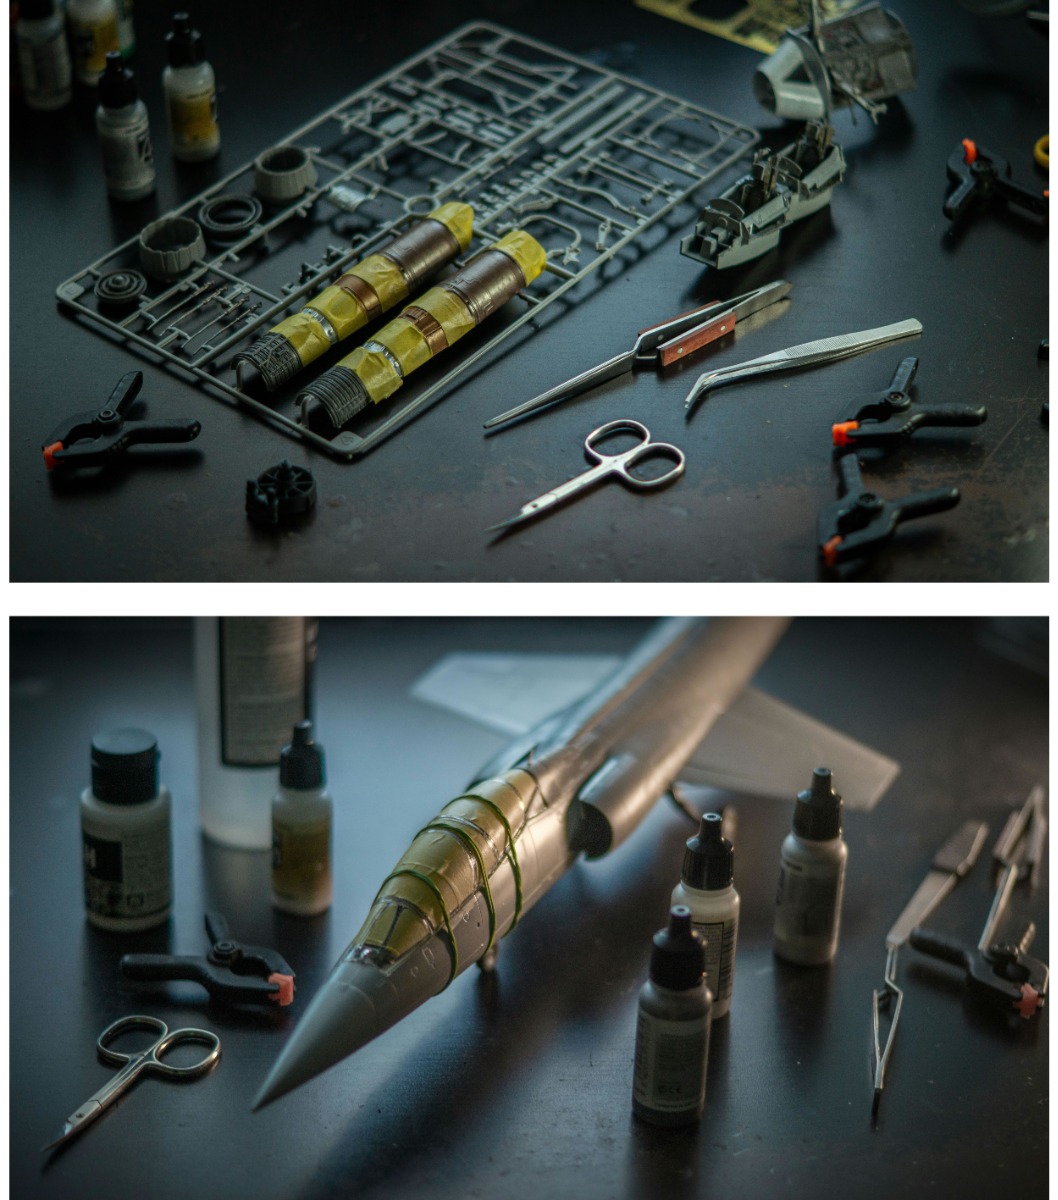
For things with frames or crisp edges, you want to use masking tape to cover the windows but leave the frame exposed. Ideally you want to use a nice, thin tape that cuts with a crisp edge, like Tamiya masing tape (not household masking tape or sellotape!). You can either cut strips of tape into millions of tiny squares and shapes and cover the window areas with them, or you can cut single pieces of tape to fit each pane - and the easiest way to do that is by placing the tape strip over the whole canopy, fame included, burnishing it place into all the corners and edges. and then trimming the tape CAREFULLY in place with a sharp blade. Then you can pull away the unwanted tape, leaving the pane covered and the frame exposed. This method will give you more uniform and neat paint edges, compared to using lots of little pieces.
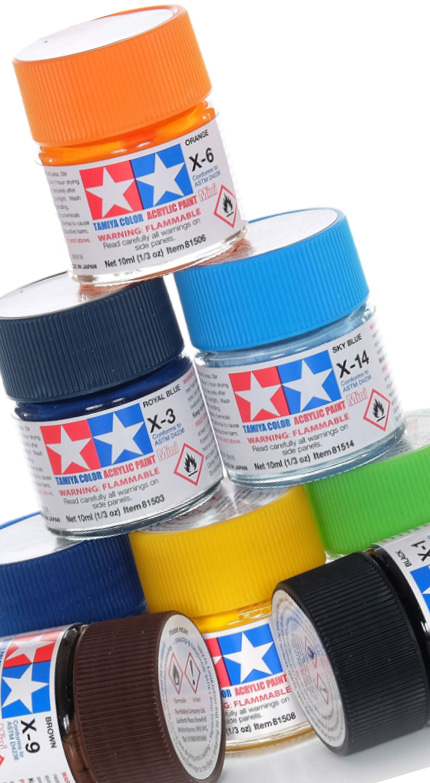
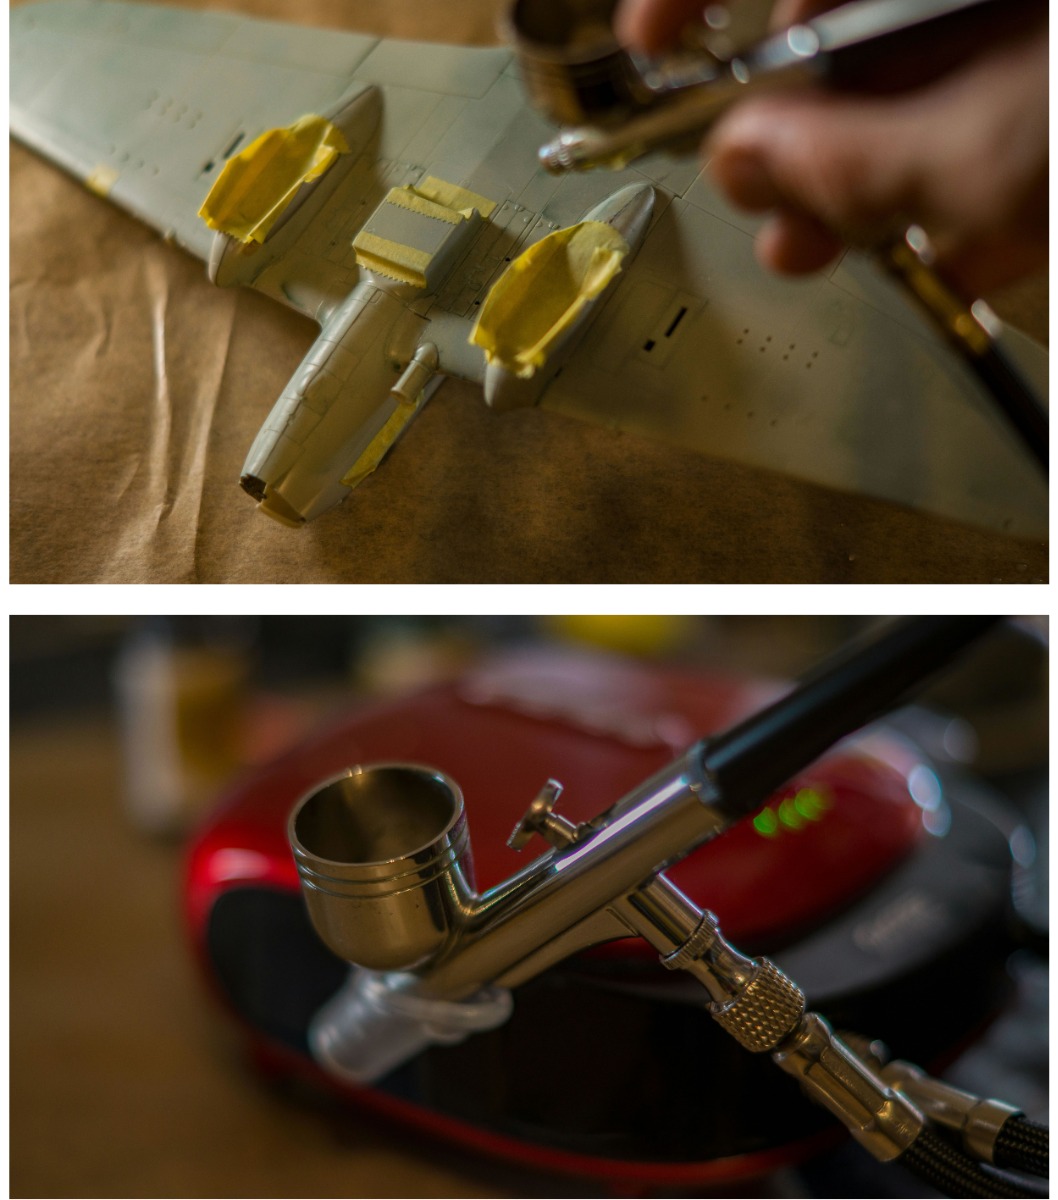
Once it is masked, you can crack on painting it - but do not be tempted to brush paint this part! you want to spray the canopy frame, either with an airbrush or a rattle-can. Brush painting it will get paint under the tape edges and ruin the canopy.
If you are painting the canopy off the vehicle, make sure you mask the INSIDE of it as well, to avoid spraying on the inside. And for extra cool points, you can make the INSIDE of the frame a different colour to the outside by painting the cockpit interior colour first, and then out outside colour on top. The inside colour will show on the inside of the frame.
It's easier to show you all this - check out my video guide below to masking and painting a basic canopy with a crisp and proud frame.
Attaching a cockpit is also easy as long as you never, ever, EVER use any of you normal polystyrene cements or superglues (also called CA glues). Polystyrene cements will melt the plastic and leave nasty messes all over it, and CA glue can fog up the clear parts with its vapour and fumes. To glue your clear parts, use a few dots of canopy glue such as Revell Contacta Clear or Microscale Micro Kristal Klear on the contact surfaces of the canopy. These are non-welding glues - very similar to good old PVA glue or Elmer's glue - that always dry clear and do not fog up clear parts as there are no solvents and they do not react at all to the plastic. Their bond is good but not as tough as welding cements, and they won't give structural support, but they are perfect to attach small parts like canopies and lenses, you have a few minutes to clean up any excess spldoges with a damp cotton bud and they will dry absolutely clear. They are also often used as a temporary glue where a part might need to be removed later.
So there you go! Remember to check out the video below and, of course, our other FAQ guides and if you have a quickie question, send it to [email protected] with the title "FAQ Question" or fill out the contact form on the website.
Make something awesome!


